SupaLite Roof Installation Guide
Supalite Roof Installation is usually carried out by approved installers but if you have decided to give it a go yourself or are just interested in how the system comes together, read on…
Disclaimer:
Although we’ve done our best to provide accurate information in this article we cannot guarantee its accuracy. We also have no relationship with Supalite so please do not take this Supalite roof installation guide as official instructions. Any DIY project involving the use of ladders is inherently dangerous. Use suitable footwear, ladders and other equipment and follow all relevant health and safety instructions. If in any doubt, consult a professional roofer or conservatory roof conversions expert.
Step 1: Insert Soffit Board: The 1000mm soffit board needs to be slotted in between the pvc fascia and aluminium ring beam before anything else. Slot in and cut to size.
Step 2: Attach Fascia to Baton: Using poly pins, fix the fascia board to the wooden baton. Clip the gutter brackets into place, sealing as necessary, drill the gutter box at about 600mm intervals (NOTE: Some people find adding the gutter at this stage is easier than waiting until the end.)
Step 3: Place Rear Ring Beam: With the soffit in place you are now ready to slide the rear ring beam section into place and screw it to the wall.
Step 4: Connect Sections: You will find cleats fitted on the corners of each section. Use these to join the sections together and then fix with the supplied screws. Align ring beam with the front face of the windows with no aluminium showing. Any overlap needs to be on the inside as this will then be covered with insulation later. Secure using 100mm Baypole screws; these are not supplied.
Step 5: Fit Rafters and Ridge: Attach the end plates to the ridge. Fit the rafters to the ring beam to the relevant design plan. Use the 30mm nuts and bolts supplied. Fit the rafter to the ridge using the same.
Step 6: Fit Last Rafters to End Plate: Fit the final jack rafters into the ridge end plates and secure using the 30mm bolts.
Step 7: Attach Standard Rafters to Ridge End Plate: Attach the hip rafter brackets to the the jack rafter and attach the hip rafters. Again, use the 30mm bolts.
Step 8: Fit Insulation: Once you have finished constructing the framework, slot in the numbered pre-cut 100mm insulation panels.
Step 9: Cover with Plywood: Using 35mm nails or screws to secure, cover the framework with the pre-cut 12mm plywood panels.
Step 10: Attach Plywood to Ring Beam: Insert the plywood into the slot on the ring beam using self-drilling screws to fix.
Step 11: Fit Breathing Felt: Cover with breathing felt, leaving at least 50mm to run into the gutter (this can be trimmed back later).
Step 12: Attach Batons, Tile Cleat and First Tiles to Ring Beam: Fix the batons and then attach the tile cleat flush to the bottom of the batons. Cut and fix the first tiles onto the ring beam, hooking them over the end.
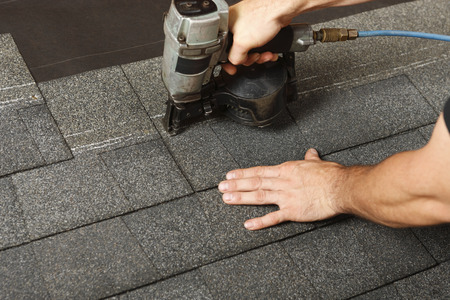
Step 13: Complete Tiling: Tile the roof and secure with at least four 35mm nails or screws at the top of each tile. Mark out any holes for the roof light at this stage.
Step 14: Fit Batons for Ridge and Hip Covers: Add the timber batons ready for the ridge and hip covers.
Step 15: Add Ridge and Hip Covers: Cut the ridge and hip caps and fit to the ends of the batons. Use the appropriate jointers (four or five-way) and ridge and hip covers to complete the roof.
Step 16: Add Gutter and Trims: Clip the gutter brackets to the ring beam and fit the gutter. Add trims to the corners and middle of the fascia.
SupaLite Roof Installation Guide: Video
To see exactly how the magic happens, watch this YouTube SupaLite Roof Installation Guide
For more information on SupaLite, see our SupaLite Roof Review. Click this link for alternatives to the SupaLite Roof System.
Roofer Image Copyright: paultessier / 123RF Stock Photo
